Hi dear friends

It's my honor to have a chance to share my tip at Manip Academy here.
First of all, I have to tell you that I'm a lazy self-taught digital artist.
I know how to use only some simple tools in Photoshop old version (CS3).
Besides, English is not my first language.
However, I hope this article will be useful somehow at least for beginners and intermediate artists.
Last year I held KING KONG AND I contest. And I found that some contestants had trouble to put the woman stocks in their works properly, while they seemed have no any problem with gorillas and backgrounds. Why is that?
I noticed that most woman stocks they used were taken picture with brightness in daylight. And they didn't turn down the brightness of the women stock enough when they put them into darker environment like a sunset scene or a jungle. And the black hair of the giant gorillas also emphasize the error. The women ended up being too bright and jumped out of the environment. So, I chose to write about Realistic blending of human models with environments in this article to solve this problem.
Normally, to put a human (or any object) and make them look real and harmonious with a new environment (background),
I have to care about these important facts.
- direction of light
The light on the human body (or any object) and the background should have the same direction. If not, you have to flip either of them.In case the light on the object doesn't have an obvious direction, add some light and shadow to the object.
- color tone
You have to adjust color of the object, and make them look similar to the tone of environment. But don't make them look too close because the object will be drowned into the background.-brightness and contrast
As I said in the beginning that different stocks were taken with different level of brightness. You need to adjust the brightness of them into same level. If there's a special source of light shining on the object, such as a human holding a lamp. That's an exception.There are also some other facts to think about as well. Such as...
-sharpness and blur
-depth and distance
-size of the object and background
-angle or perspective of the object and background
etc.
The object and the background should be related to each other in every aspect.
My advice is you can find the best tips or secrets from any photography, and learn these facts of nature from them.
---------------------------------------------------------------------
I have made 2 example works using same model in 2 different backgrounds to show you the process. Let's see.
The model stock is

The backgrounds are
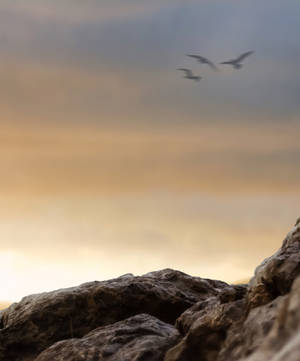
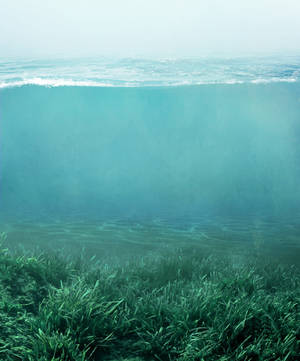
The first one is a sunset or sunrise scene where the sun is down and far away in the background.
Any object placed on the foreground is supposed to look almost as dark as a silhouette.
The second one is underwater scene. I have never tried it before.
But I guess everything under the water is supposed to be in dim cyan tone.
I put her in these backgrounds


Both backgrounds have different direction of light, while there is no obvious direction of light on the model body.
She looks too bright in both backgrounds.
Don't forget the fact that she has to look much more darker than the sky in the sunset scene.
Her color tone need to be adjusted a lot in the water scene as well.
I began to decrease the brightness of the model.
In the sunset scene, I duplicated the model layer. Changed the new layer in multiply mode.
The model will look much darker and intensive automatically.
I also clicked button IMAGE / ADJUSTMENT / BRIGHTNESS AND CONTRAST to make her even darker.

I adjusted the color of this layer by clicking button IMAGE / ADJUSTMENT and chose COLOR BALANCE
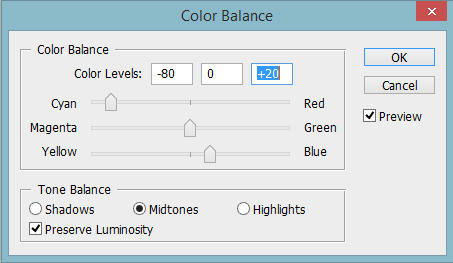
Now the model looks much darker than the sky.
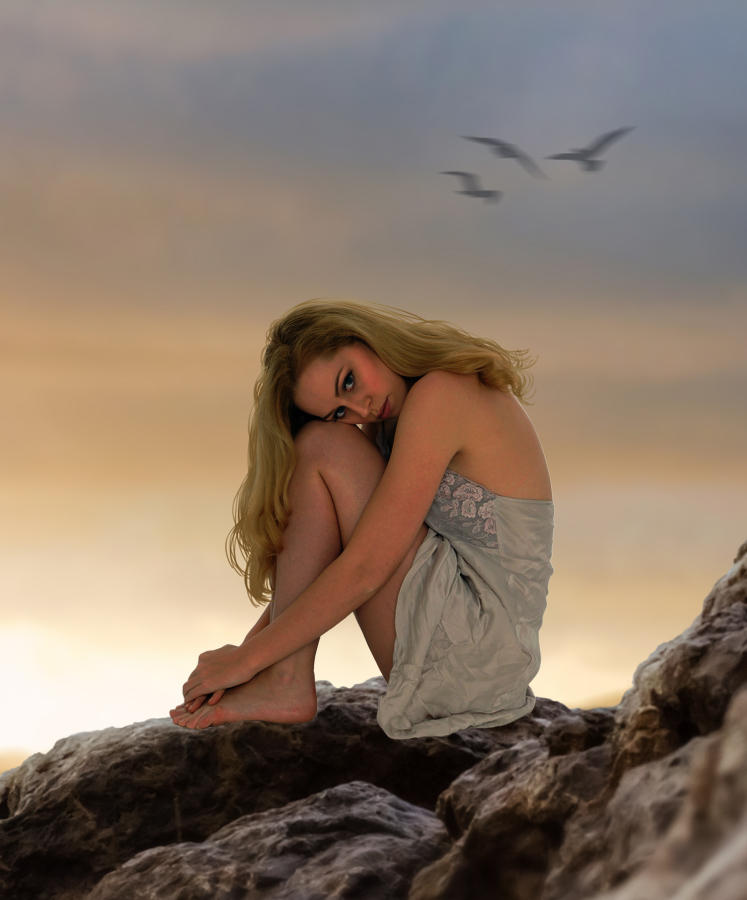
Then I added some light on the body of the model in the same direction of light in the background. I did it by using soft-rounded DODGE tool. I set the exposure level about 50% or less dragging it around her body, and change into 100% for the front part of her body which is supposed to be touched by the sunlight.
But the body parts that touch the ground like her feet and bum should look darker because they are not touched by the sunlight. So, I used big soft-rounded BURN tool instead.

I made a new layer in multiply mode under all the model layers to make her shadow lying on the rock.
With the shadow, I realized that the model still doesn't look dark enough in this environment.
So I duplicated the 2nd layer of the model (which I set in multiply mode). This time I set the opacity at 30% only.
(you may put the new duplicated layer in other mode as well, it's up to propriety of each situation.)
If the model's color looks too less or much more saturated than the environment, then adjust it with HUE/SATURATION tool.
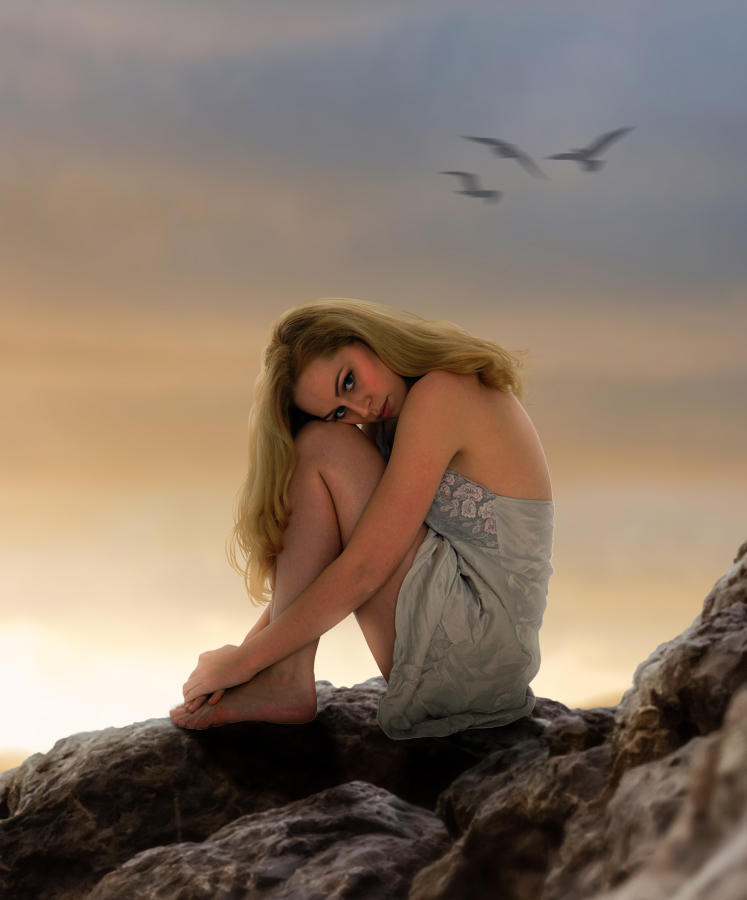

To add some highlight on her front part and to put outer glow effect, I duplicated the original layer of the model. Placed this layer under the rock layer. Added COLOR OVERLAY effect to this layer. ( chose white color ). Then I moved the image in this layer to the left a little bit, and made it blur. Now the model has some highlight on her front part. I added some soft OUTER GLOW effect to this layer too. (The color which is used in this effect should be the main color you see in the background. )

Finally, I added some light/flare texture on the work.

I placed it above all other layers in this work, changed into SOFT LIGHT mode with opacity 75%.
This light texture really made the atmosphere looks much more charming.
I confess this light texture tends to be necessary in my works nowadays.

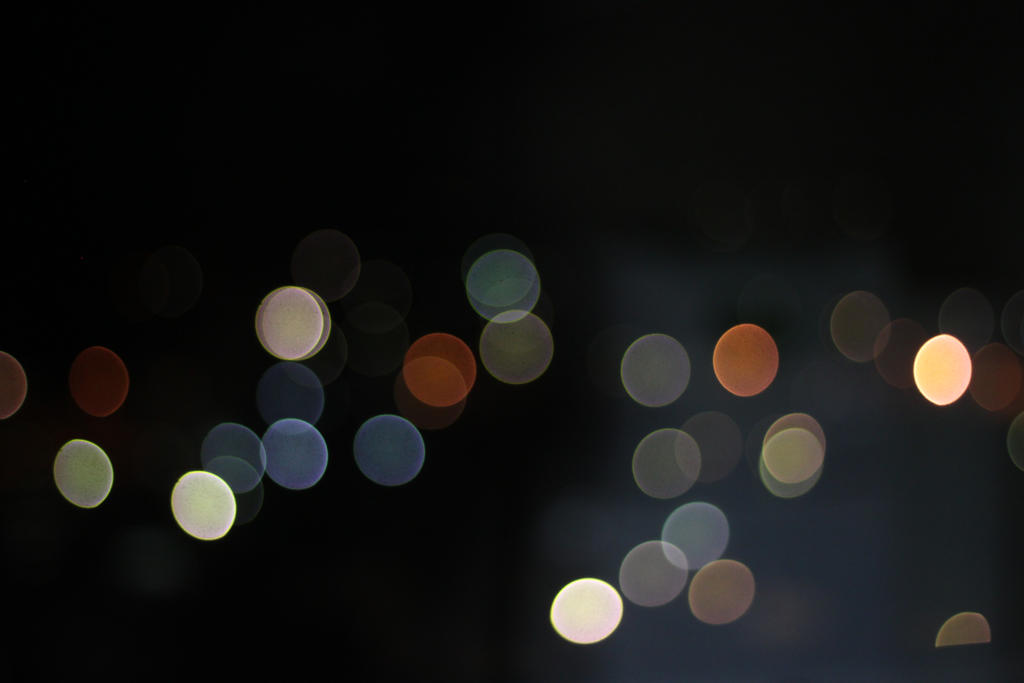
I also put some bokeh texture under the model layers in SCREEN mode. It helps this scene looks more interesting.
This is the comparison between BEFORE and AFTER adjustment of the model.

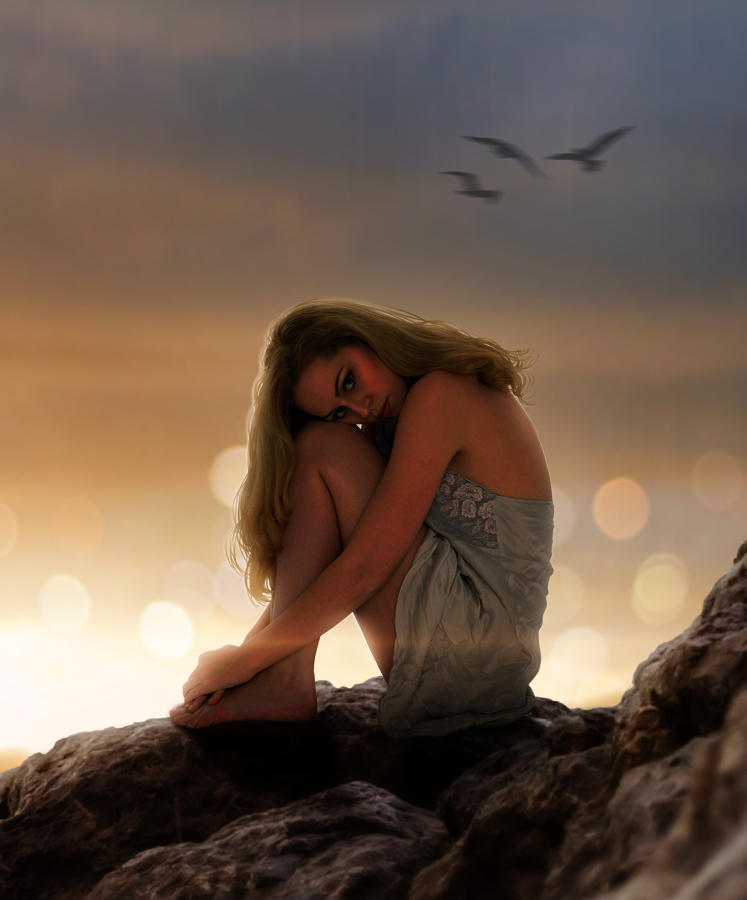
Now you can see how much BRIGHTNESS adjustment means to your work.
Don't be afraid that the model's face will look too dark. Better be afraid that your whole work will not look real enough.If she's in a dark place and she's not a firefly, she will have to look dark.

I have a tip about how to find a proper level of BRIGHTNESS of model/object in each background. Just quickly move the adjustment button of BRIGHTNESS adjustment from the minimum level to maximum level and from maximum level to minimum level many times until your eyes can find the right state where the model/object doesn't look too bright or too dark in that environment.
-------------------------------------------------------------------------------------------------
As for the underwater scene. I still used the same process.
Besides decreasing brightness of the model, I adjusted her color a lot into cyan and blue tone to make her look related to the sea.
But I used water texture instead of light texture in this case.
When I finished the whole work. I saved it in JPG file.
Then I opened it again, and clicked IMAGE/ADJUSTMENT and chose
AUTO COLOR, AUTO CONTRAST, AUTO LEVEL.
This is the comparison between BEFORE and AFTER adjustment of the model in underwater scene.

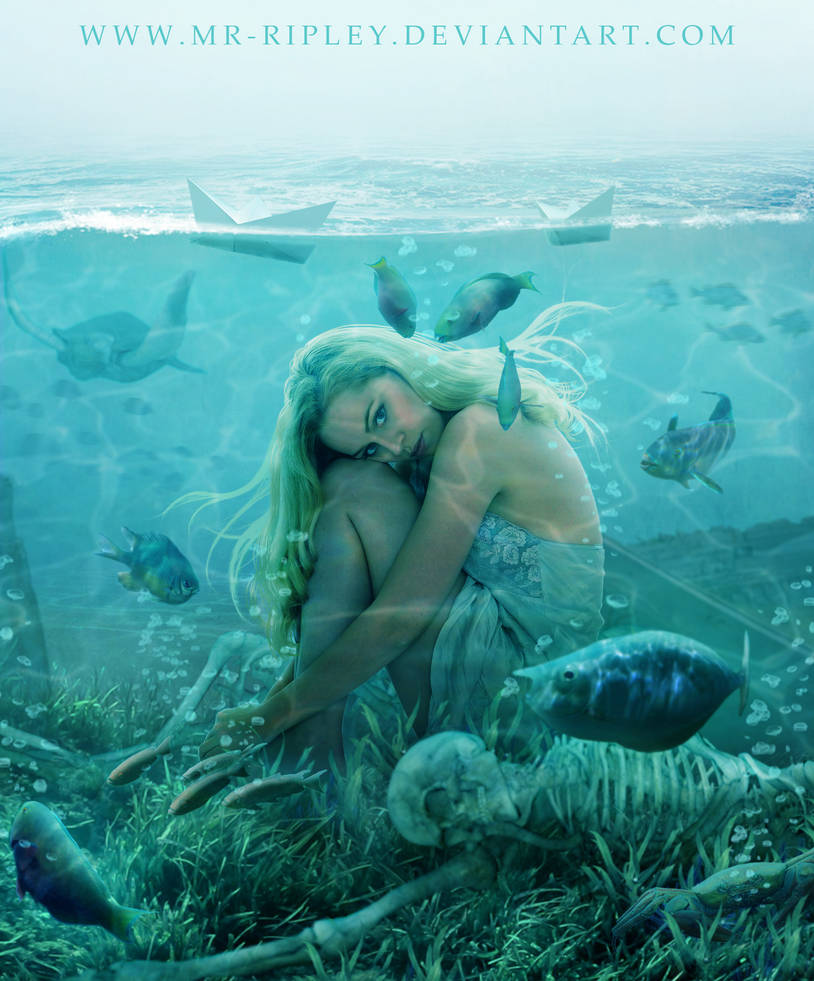
AUTO COLOR tool is amazing. It usually brings me the best color tone to the final result. But sometimes it's not good enough.
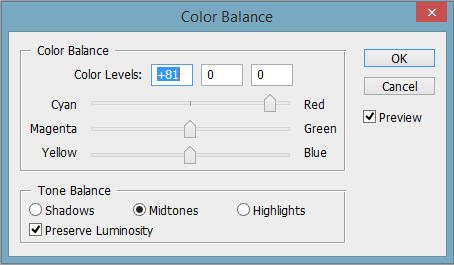
So, I adjusted the color of the whole work again.
If it looks too much in some color tone, you have to add the opposite color tone to the work.
In this case, it looks too much in cyan tone , so I added a lot of red tone to the final work.

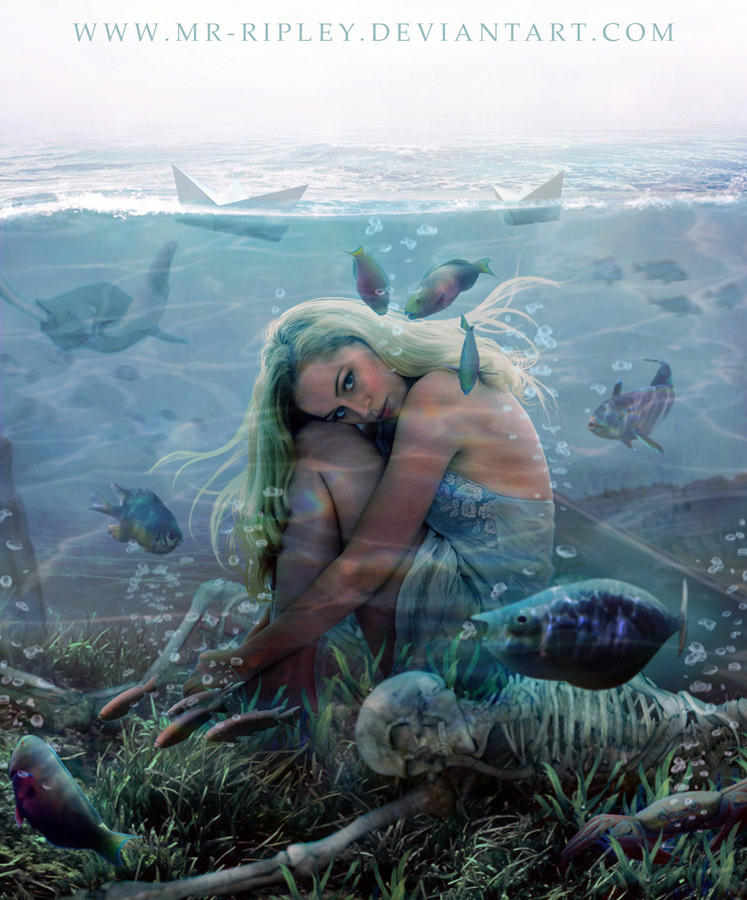
The concept of this work is quite a fantasy. But I still created it with realistic technique.

-----------------------------------------------------------------------------------------------
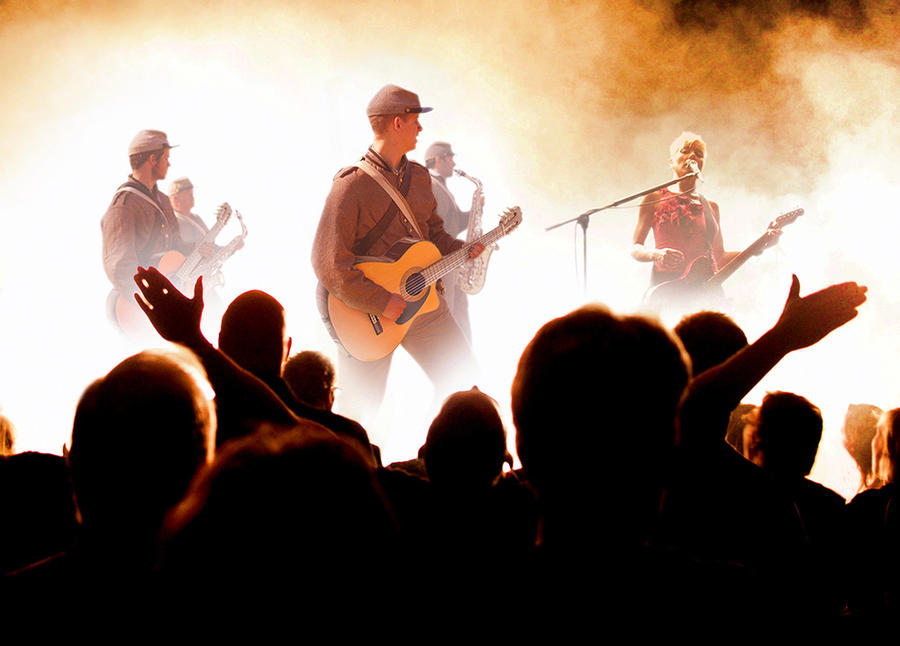
I have another work of mine that I think it fits this topic.

This original image belongs to Alan Welch.
I was allowed to use for a Photoshop contest in the work below.
You can see how I changed the soldiers into a musicians.
Thank you so much all the owners of the stock I used in this article.
The credits have already been given to you on these deviation's pages.
Lady in the Water , Lady on the Rock , Peace By Music
Finally,
I guess I have already revealed you guys all my secrets.
Please let me know if you find this article useful.
If you have any question, Don't hesitate to ask.
Best,
Mr.Ripley


AUTO COLOR tool is amazing. It usually brings me the best color tone to the final result. But sometimes it's not good enough.
So, I adjusted the color of the whole work again.
If it looks too much in some color tone, you have to add the opposite color tone to the work.
In this case, it looks too much in cyan tone , so I added a lot of red tone to the final work.


The concept of this work is quite a fantasy. But I still created it with realistic technique.

-----------------------------------------------------------------------------------------------
I have another work of mine that I think it fits this topic.

This original image belongs to Alan Welch.
I was allowed to use for a Photoshop contest in the work below.
You can see how I changed the soldiers into a musicians.

Thank you so much all the owners of the stock I used in this article.
The credits have already been given to you on these deviation's pages.
Lady in the Water , Lady on the Rock , Peace By Music
Finally,
I guess I have already revealed you guys all my secrets.
Please let me know if you find this article useful.
If you have any question, Don't hesitate to ask.
Best,
Mr.Ripley
